Thursday, June 21, 2012
NerdLacquer Giveaway!
I'm sorry I haven't posted in a while; life has been crazy but I promise I will get this blog going someday. In the meantime, check out Sassy Lacquer! She is generously giving away 4 NerdLacquer polishes here. The contest runs till July 23, but don't forget to enter. I loved NerdLacquer and was so sad to see her shop close.
Saturday, March 17, 2012
St. Patrick's Day Mani, Take One
Unfortunately, I only managed to get one shot of this before it met it's untimely demise. I made the error of polishing while tired, and accidentally put top coat down as my base coat, which meant my manicure peeled right off. Upside? Easiest glitter removal ever! Haha
Pics after the jump!
Pics after the jump!
Wednesday, March 7, 2012
Not Every Experiment is a Good One
A little while back I decided to give "frankening" a go. What is frankening? It is mixing your own custom nail polish. You can make a franken by mixing existent polishes, or by adding pigments and/or glitters to a base, or some combination of the above. The blog All Lacquered Up has a good post on it here.
My first franken was made by mixing an old NYC clear topcoat with eyeshadow. I had a couple of colors from Urban Decay's first Book of Shadows that I really liked, but they didn't look good with my blue-grey eyes, so I brushed off some of their pigment onto a plate, added the topcoat, and stirred with a toothpick. I was confused to see a dark olive with golden shimmer, considering the colors I used looked nothing like that. I used Shattered, a light blue-green duochrome, Absinthe, a bright green, and a tiny bit of Goddess, a dark glittery midnight blue. I thought I would end up with a blue/green, or a blue/green duochrome. The initial franken color, although unexpected, was pretty, but I wanted to try lightening it up since olive isn't really my color. I added some drops of Sinful Colors Snow Me White. I didn't realize how quickly the polish would lighten the color, so I added way too much and ended up with a very pale, dull green. Trying to bring back some intensity, I added a drop of Zoya Raven. At this point, the color was nothing like I really wanted, but was starting to thicken and dry up so I couldn't really save it. I stirred in a bit more topcoat as I went along to thin it out, and painted two coats of it on my toes. I was glad I just mixed a little of this on a paper plate instead of wasting a bunch of polish and eyeshadow to make a bottle that I wouldn't use again.
If you are offended by feet or scarred by ugly color and gross toes, don't click the jump. I am just putting this up to hopefully be able to look back in the future and see how far I've come, haha.
Subtle Stamping with OPI and Zoya
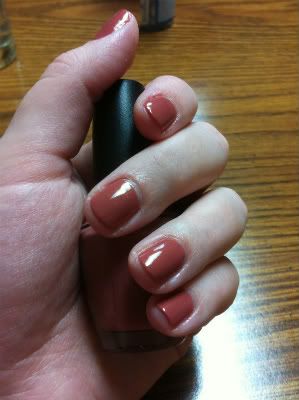
When I first saw the OPI Holland collection, I knew I was going to go broke over it. They are all lovely. I really didn't expect to like Gouda Gouda Two Shoes, but when I saw it in person it had to come home with me! The color is neutral and work-safe, but unique, and the formula was perfect. I really like the subtle golden shimmer.
After a couple days, I touched up the tips and figured I'd spice it up slightly with some stamping. I used a stamper and plate from Wal-Mart by the brand Kiss. I bought it around Valentine's Day and haven't seen them since, so if you see one and want it, pick it up and don't wait! To keep the look subtle but coordinated, I went with Zoya Buffy as my stamping polish. It is thin and on the sheer side, but since that is what I was going for this time, it didn't really matter.
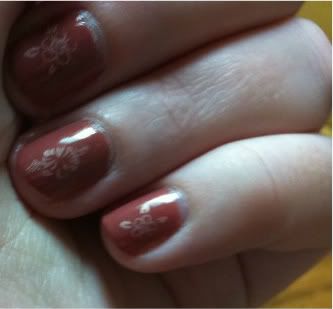
I need to practice more with the stamper, but I'm really liking it so far!
After a couple days, I touched up the tips and figured I'd spice it up slightly with some stamping. I used a stamper and plate from Wal-Mart by the brand Kiss. I bought it around Valentine's Day and haven't seen them since, so if you see one and want it, pick it up and don't wait! To keep the look subtle but coordinated, I went with Zoya Buffy as my stamping polish. It is thin and on the sheer side, but since that is what I was going for this time, it didn't really matter.
I need to practice more with the stamper, but I'm really liking it so far!
First Glitter Gradient
Here is my previous manicure, the first glitter gradient I have attempted. I used two coats of OPI's
Dutch 'Ya Just Love OPI? as the base color, and sponged on Sally
Hansen's Gem Crush Be-Jeweled with an eyeshadow applicator. The
gradient was a bit less gradual than I would've liked (worse on my other
hand). I put on two coats of Sally Hansen InstaDri topcoat to smooth
out the grittiness.
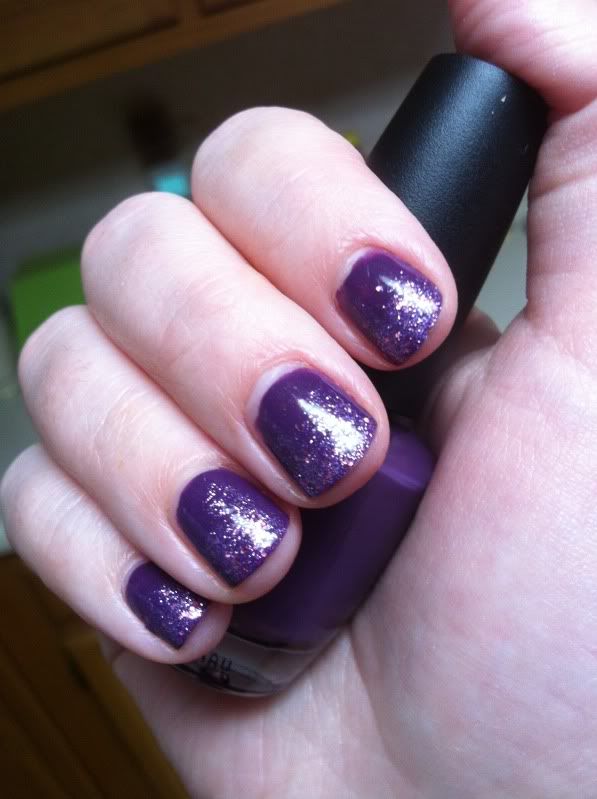
I really loved both of these polishes and how they looked together, so this is one that I will likely attempt again.
I really loved both of these polishes and how they looked together, so this is one that I will likely attempt again.
NerdLacquer Holy Grail
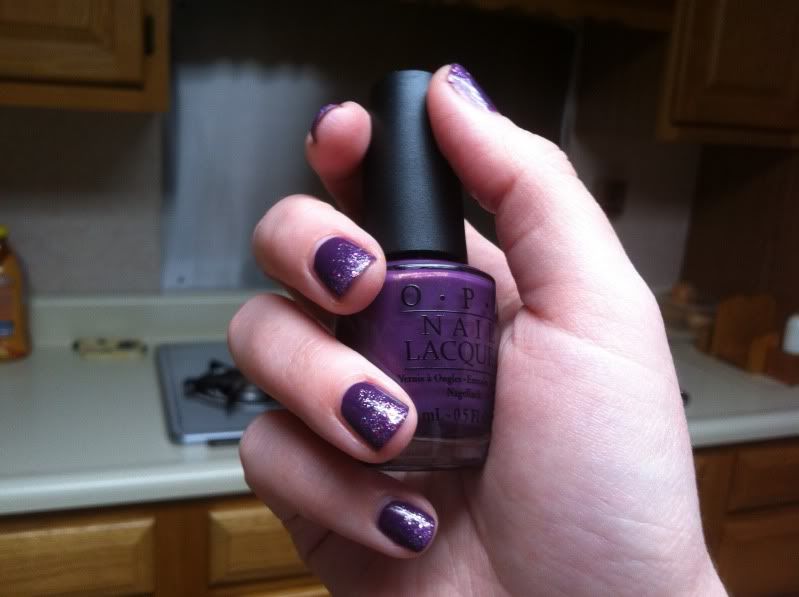
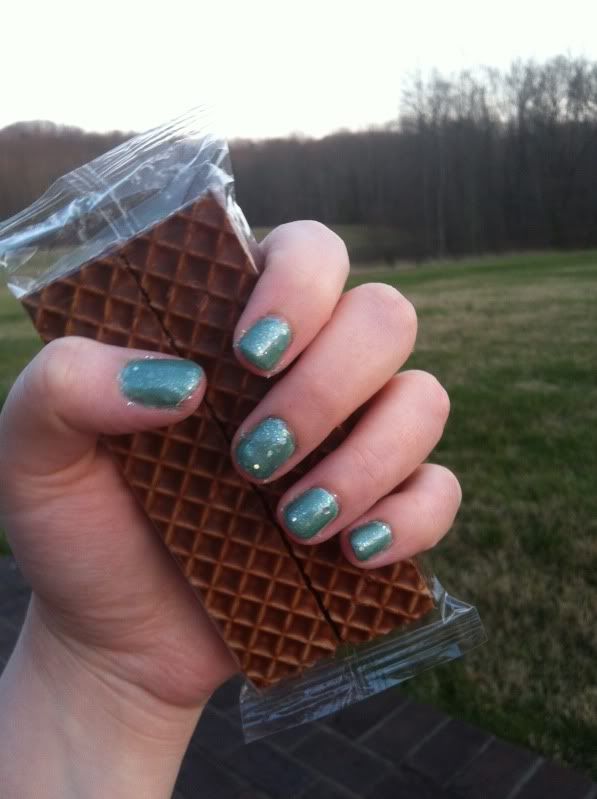
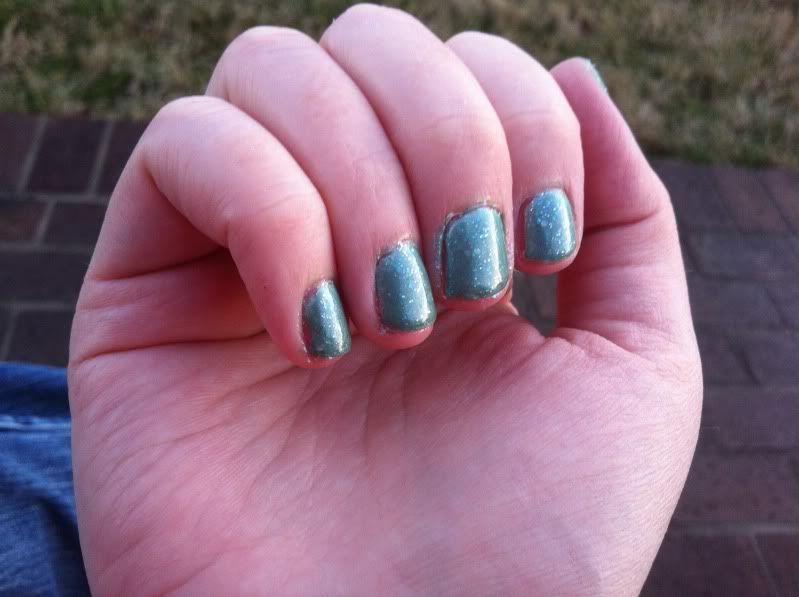
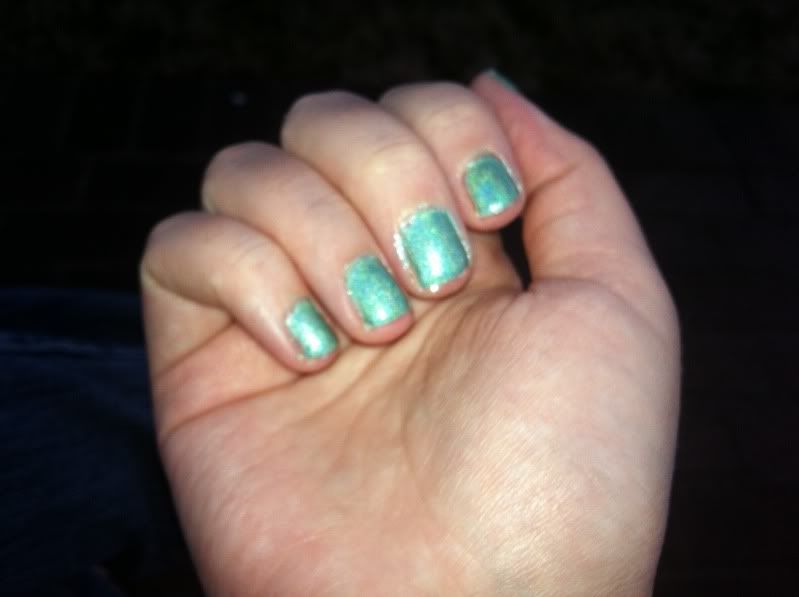
This is the first NerdLacquer I have used; I just bought this and Carbon Allotrope when her Etsy shop was last open. Holy Grail is just that, the holy grail of awesome polish. It's a glitter, a holo, and it glows in the dark!
I used two coats of Sinful Colors Snow Me White underneath two coats of Holy Grail. I wanted to be sure that none of my woefully stained nails showed through, but I don't think it was necessary. Holy Grail is sheer-ish, but Snow Me White was such a nightmare to apply (somehow both sheer and thick) that I would have been happier if I hadn't used it. Oh well, live and learn.
These pictures were taken not long before sunset, so the holo doesn't really show. I cleaned up some to get the excess white off of my skin, but it still needs more clean up. I will hopefully be able to post cleaner daylight pictures soon.
Messy, messy, messy.
Tuesday, March 6, 2012
Prologue
Welcome to Vere's Nails! I have been becoming rapidly obsessed with nail polish lately, and have started this blog to have a place to put my manicure pictures and chronicle my journey of learning and experimenting with polish. I am not a pro by any means, but I hope you enjoy my amateur attempts at nail designs.
Where does the name "Guineavere" come from? My favorite animals are guinea pigs, and my husband loves Arthurian legend. Combining both gave me "Guineavere." I liked it and it stuck. :)
Where does the name "Guineavere" come from? My favorite animals are guinea pigs, and my husband loves Arthurian legend. Combining both gave me "Guineavere." I liked it and it stuck. :)
Subscribe to:
Posts (Atom)